Posts

Showing posts from July, 2012

Networking & Marketing

I came across this article at  www.entrepreneur.com  this morning while perusing the net as my coffee kicked in. Boy, Jeff Slutsky really hit the nail on the head! Some of the things he lists from a marketing standpoint are kind of basic, such as a firm handshake and a business card, but you wouldn't believe how many people who are in business and simply don't carry their cards on them. This article is worth a read and gives some sound advice! take a look!  http://www.entrepreneur.com/article/223917 Cheers,
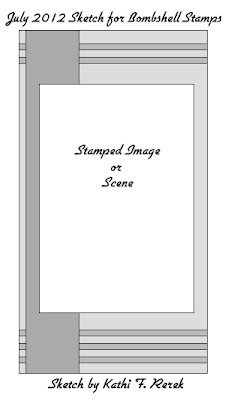
July Sketch Challenge - Bombshell Stamps

Image
Hi All! This month's sketch challenge at Bombshell Stamps was really  fun for me. I took some liberties with this sketch and used it for inspiration and a jumping-off point. Here is what I ultimately came up with. I created similar lines on the top and bottom, just like Kathi's sketch. Even tho I am missing a background piece on the left-hand side of my card, I feel like visually it is there with the pin up's drink and arm, down to her face, and with the music notes. It creates the visual line. And I just loved the die cuts! I lined the inside of the card, which I rarely do. You can see more pictures here . Thanks for checking in!  Cheers,

July Pin Up Challenge - Bombshell Stamps: Jewelry

Image
This month's Pin Up Challenge was to make a piece of jewelry using our bombshell stamps. Since I've sold everything except my jeweler's pliers, I decided to make little trinkets instead. If I had any jump rings, I'd add them on! Ingredients: Tim Holtz trinkets Glossy Accents (Aileen’s liquid applique might work too, but I haven’t tried it) Your choice of images - stamps; paper or clippings (I'm using the three sugar skulls from Bombshell Stamps' Sugar Skul l set.) Scotch clear packing tape I found that scotch clear wide packing tape works best on the reverse as kind of a sealer. You can use the normal thin scotch tape, but then you don’t get a smooth backing. Before I start I like to trace the trinket first and cut it out. It always seems to be a little bigger than I need.   Simply stamp your image, adhere it to the   background, apply glossy accents. Make sure all the air bubbles are out of it, clean up the sides (I like to use a cotton swab